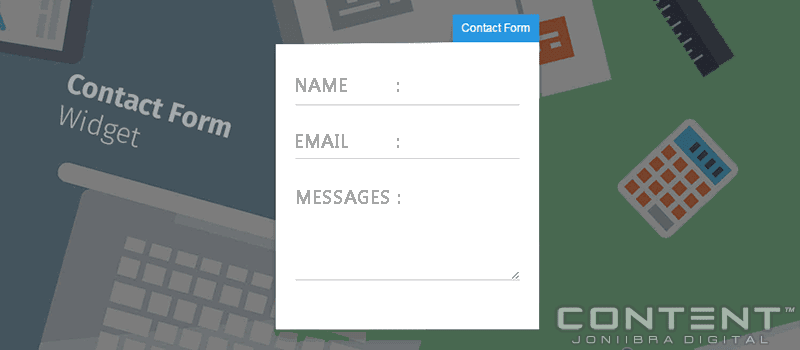
CREATE NEW BLOG WITH BLANK TEMPLATE - DUMMY's BLOG
1. First, create a new Blog on your Dashboard's menu with. Called it with dummy's blog and apply the empty themes with structured included - DOWNLOAD EMPTY CLEAN TEMPLATE BLOGSPOT 2016.
Then, make a 'New Post' and publish it:
<style scoped="scoped" type="text/css">
.contact-form-box{width:260px;margin-right:15px;padding:0;}
#ContactForm1_contact-form-name, #ContactForm1_contact-form-email{width:94%;height:auto;margin: 5px 5px 15px 0;padding: 10px;background: #ebebeb;border: 1px solid #ccc;color:#777;border-radius:3px;box-shadow: 0px 4px 0px 0px #c7c5c7;}
#ContactForm1_contact-form-name:focus, #ContactForm1_contact-form-email:focus, #ContactForm1_contact-form-email-message:focus{background: #fffff7;outline:none}
#ContactForm1_contact-form-email-message{width:94%;height: 100px;margin: 5px auto;padding: 10px;background: #ebebeb;border: 1px solid #ccc;color:#777;font-family:Arial, sans-serif;border-radius:3px;box-shadow: 0px 4px 0px 0px #c7c5c7;}
#ContactForm1_contact-form-submit {display:inline-block;height: 35px;float: left;color: #FFF;padding: 0 20px;margin: 10px 0 5px 0;cursor: pointer;background-color:#f4836a;background-image:none;box-shadow: 0px 4px 0px 0px #c75b45;border:1px solid #eb7d67;border-radius:3px;text-shadow:0px 1px 0px #de5135;}
#ContactForm1_contact-form-submit:hover {background-color:#f5785f;}
#ContactForm1_contact-form-submit:active {background-color:#f4836a;position:relative;top:2px;box-shadow: 0px 2px 0px 0px #c75b45;}
#ContactForm1_contact-form-submit:focus{background-color:#f4836a;outline:none}
#ContactForm1_contact-form-error-message, #ContactForm1_contact-form-success-message{width: 100%;margin-top:10px;text-align:left;background:none;border:none;box-shadow:none}
img.contact-form-cross{background:none;border:none;box-shadow:none;}
.contact-form-cross{vertical-align:middle!important}
</style>
<div class="contact-form-box">
<form name="contact-form">
<input id="ContactForm1_contact-form-name" name="name" placeholder="Name" size="30" type="text" value="" /><br />
<input id="ContactForm1_contact-form-email" name="email" placeholder="Email" size="30" type="text" value="" /><br />
<textarea cols="25" id="ContactForm1_contact-form-email-message" name="email-message" placeholder="Message" rows="5"></textarea><br />
<input id="ContactForm1_contact-form-submit" type="button" value="Kirim" /><br />
<div style='clear:both'></div>
<div style="max-width: 222px; text-align: center; width: 100%;">
<div id="ContactForm1_contact-form-error-message">
</div>
<div id="ContactForm1_contact-form-success-message">
</div>
</div>
</form>
</div>
<script src="https://www.blogger.com/static/v1/widgets/2271878333-widgets.js" type="text/javascript"></script>
<script type="text/javascript">
//<![CDATA[
if (typeof(BLOG_attachCsiOnload) != 'undefined' && BLOG_attachCsiOnload != null) { window['blogger_templates_experiment_id'] = "templatesV1";window['blogger_blog_id'] = '861305691958952969';BLOG_attachCsiOnload(''); }_WidgetManager._Init('//www.blogger.com/rearrange?blogID\x3d861305691958952969','//introducing-broker.blogspot.com/','861305691958952969');
_WidgetManager._RegisterWidget('_ContactFormView', new _WidgetInfo('ContactForm1', 'footer1', null, document.getElementById('ContactForm1'), {'contactFormMessageSendingMsg': 'Sending...', 'contactFormMessageSentMsg': 'Your message has been sent.', 'contactFormMessageNotSentMsg': 'Message could not be sent. Please try again later.', 'contactFormInvalidEmailMsg': 'A valid email address is required.', 'contactFormEmptyMessageMsg': 'Message field cannot be empty.', 'title': 'Contact Form', 'blogId': '861305691958952969', 'contactFormNameMsg': 'Name', 'contactFormEmailMsg': 'Email', 'contactFormMessageMsg': 'Message', 'contactFormSendMsg': 'Send', 'submitUrl': 'https://www.blogger.com/contact-form.do'}, 'displayModeFull'));
//]]>
</script>
* Change the ID with your new Blog ID (See the address bar when entering layout page).
CSS
• Go to 'Edit Template' at blog that's will use the Contact Form (the real one).• Input the following CSS:
.box-contact{width:300px;height:380px;overflow:hidden;position:fixed;margin:20px auto;border:15px solid #ddd;z-index:100000;background:#fff;display:none;top:50%;margin-top:-205px;left:50%;margin-left:-165px}
.boxcontact-iframe{width:100%;height:860px;overflow:hidden;position:relative;margin:0 auto}
.boxcontact-iframe iframe{position:absolute;top:-360px;left:-3px}
.ct-overlay{background:rgba(0,0,0,.7);position:fixed;top:0;left:0;bottom:0;right:0;z-index:99999;display:none}
Then put this after </body> :
<script type='text/javascript'>
//<![CDATA[
function ct(e){document.write('<iframe src="http://example-dummy-blogz.blogspot.com');document.write(e);document.write('" frameborder="no" allowfullscreen="allowfullscreen" scrolling="no"></iframe>')}
//]]>
</script>
<div class='box-contact'>
<div class='boxcontact-iframe'>
<script type='text/javascript'>ct("/");</script>
</div>
</div>
<div class='ct-overlay' onclick='$('.box-contact,.ct-overlay').toggle();'></div>
* Without slash on URI
Too make 'Contact' button use this:
<div onclick="$('.box-contact,.ct-overlay').toggle(400);">Contact</div>